%20(1).jpg)
Using RAW video files is a standard best practice for video creators. RAW video offers a higher quality video than other formats, they're easy to edit, and they're compatible with most editing software.
Common RAW video file formats include:
- .braw by Blackmagic
- .CRM by Canon
- .R3D by Red
By their nature, RAW files are quite large. This can make them very heavy to work with and requires more time to process clips during post-production. The issue with large files only compounds for remote teams who need to access, share and edit video files from places with limited connectivity.
Proxy Files are Smaller and Easier to Edit
Proxy files are a low-resolution version of the RAW video for editing and preview purposes. You can use proxies as a reference when color grading or image manipulation in post-production and RAW video proxy files are great for quickly creating a rough cut of a video before working with the full-resolution files.
The real benefit of all this is that it can save production time and storage space.
Iconik & RAW files
Does iconik natively support RAW files? The short answer is no, but we're working towards that. RAW files present some unique challenges. RAW files are usually proprietary with each manufacturer having its own implementation, specifications and SDK, which means that each type of RAW file format that Iconik users have requires its own development effort in order to support creating proxies in iconik.
But today, there is another way for Iconik users to create proxies for RAW files. This solution will support two of the most common types of RAW video used by Iconik users, which are Blackmagic’s .braw and Canon’s .CRM.
How to Create Proxy Files for RAW Video
If you're not an Iconik user, then you only need steps 1-5. The remaining steps are for iconik users. Iconik users will need to have already installed an Iconik Storage Gateway (ISG) to follow this guide all the way through.
This video walks you through the entire process. You can also find step-by-step instructions below to go through them at your own pace.
1. Download Blackmagic Design’s DaVinci Resolve
Blackmagic Design's DaVinci Resolve is a powerful video editing tool that allows users to create video proxies for RAW footage.

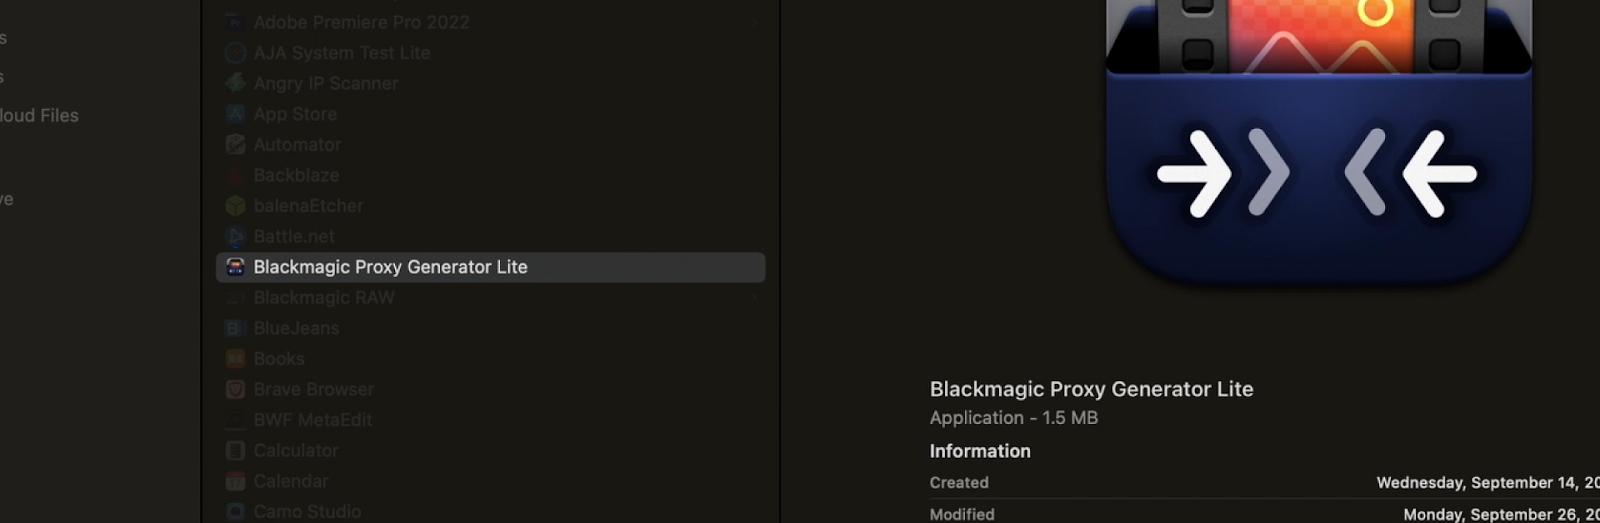
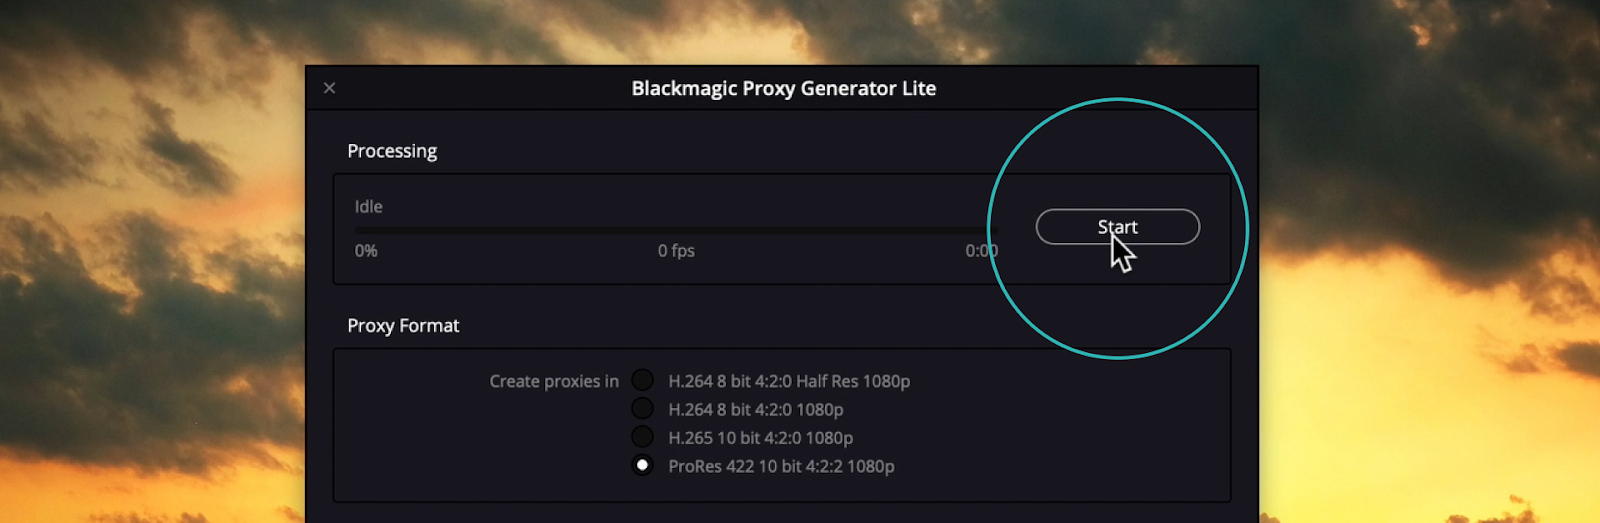
2. Open and configure Blackmagic Proxy Generator Lite
3. Select your desired edit proxy format

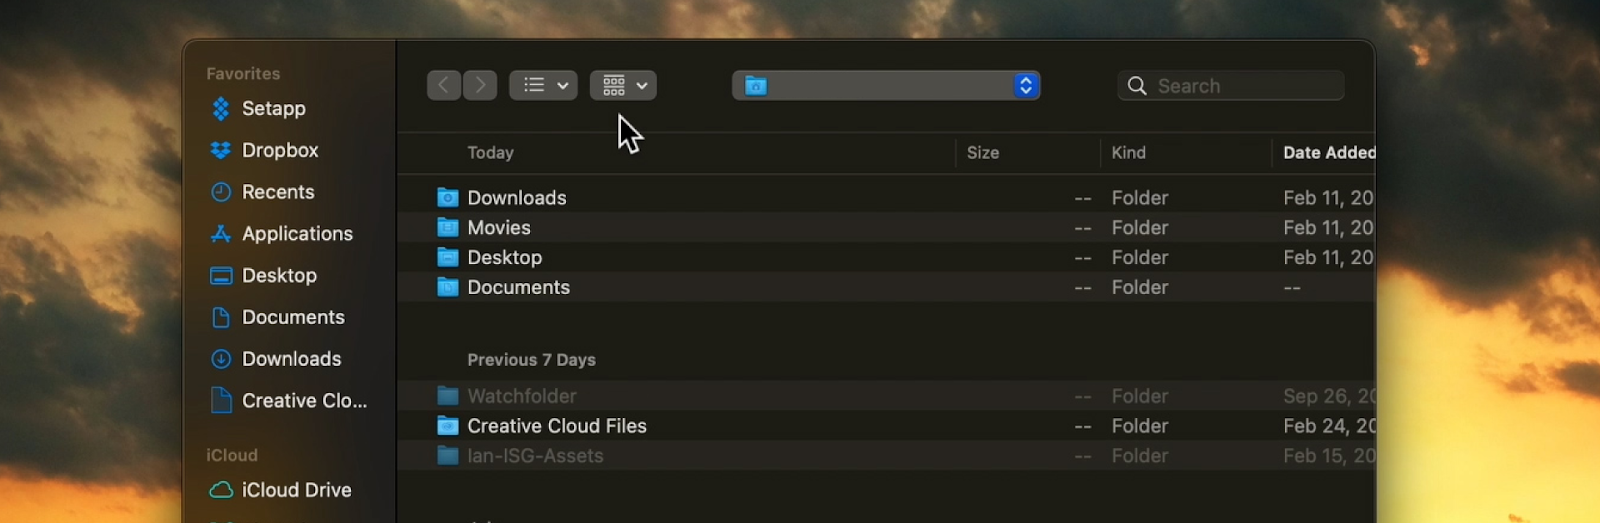
4. Add a watch folder location anywhere in your filesystem
5. Start Blackmagic Proxy Generator Lite
6. Log into Iconik and go to admin/transcoders

7. Add and configure your new Watch folder Transcoder

In Iconik, you will define the following:
Keyframe map folder - Name of the folder where the result keyframe file should be located. If file not present ISG can use ffmpeg to generate a keyframe from a created proxy. Default: Keyframe
Proxy folder name - Name of the folder where the result proxy file should be located. For Blackmagic Proxy Generator use Proxy.
Watch folder location - Absolute location of the watch folder.
Create web proxy from edit proxy - Create a web proxy from an edit proxy using the Iconik Transcoder.
Include patterns - The transcoder will only transcode files that contain the pattern from this field.
Examples:
*exclude* (transcode file/folder if there is an error)
*exclude* (match file/folder with substring exclude)
*.mov (match file/folder that ends on .mov)
You can also use regular expressions: re:/^.*\.mov$/ (match file/folder with .mov ending)
Exclude patterns - The transcoder will ignore files which contain the pattern from this field.
File grow threshold - Growing proxy file threshold. After a proxy file stops growing in size a job is considered finished.
Keep as edit proxy - This will keep a proxy as an additional format.
1. Select the storage
2. Define the storage Path
8. Add your new Watch folder Transcoder to your ISG Storage Transcoders
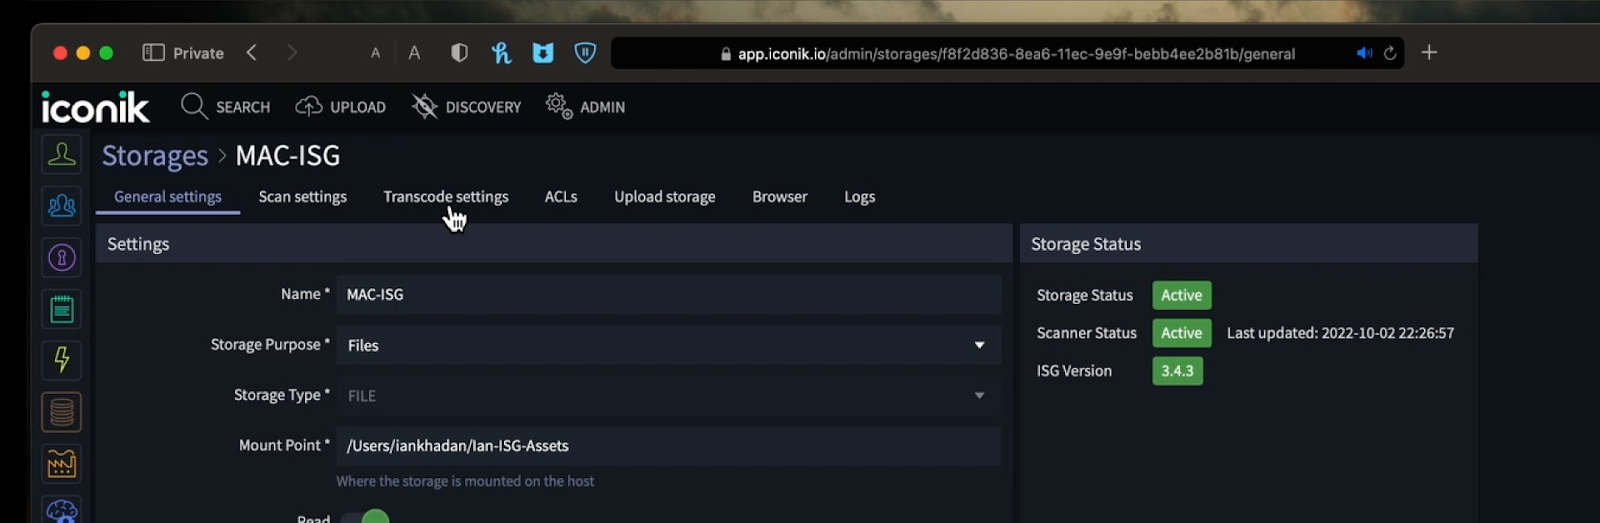
1. Go to Storage/transcode settings
2. In the Transcoders module, select “Transcoders” and “add”
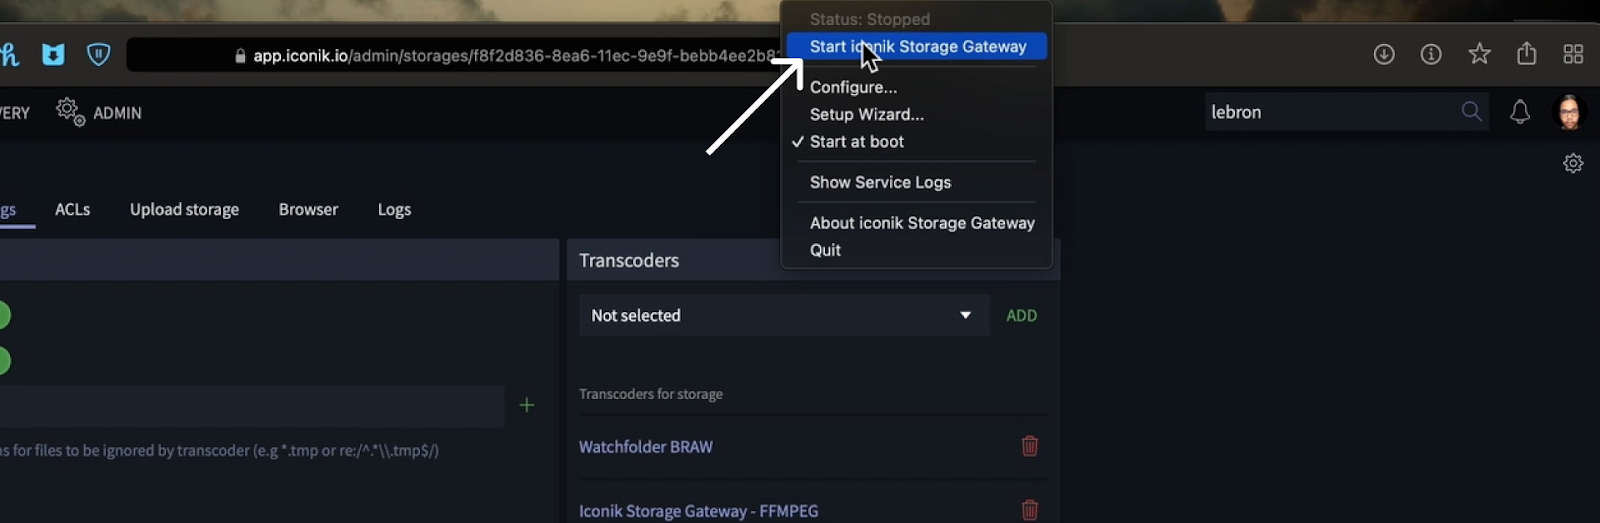
9. Stop and restart your ISG so that it acknowledges your configuration changes
10. Add RAW files to any directory scanned by your ISG
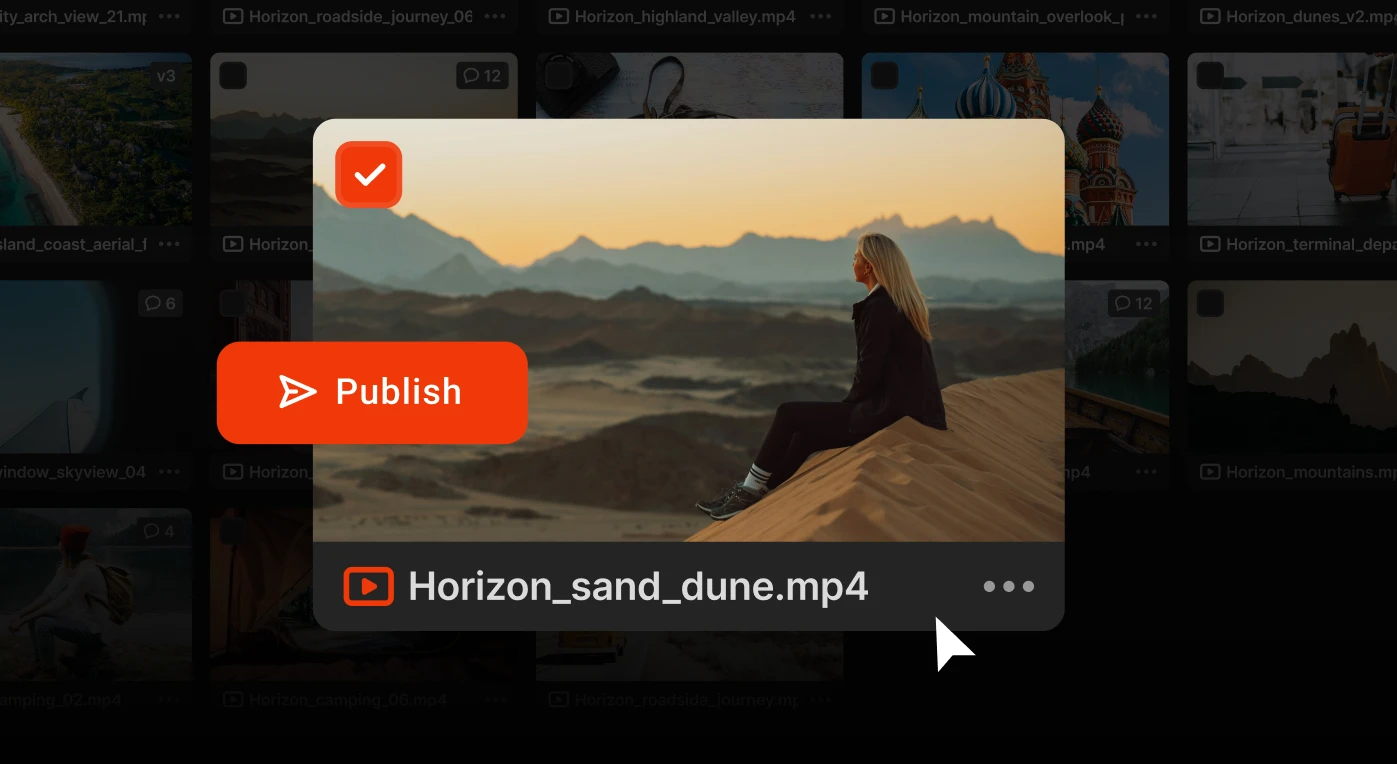
The ISG will scan the RAW files, create placeholders in Iconik and deliver the RAW files to your designated watch folder to be transcoded by Blackmagic Proxy Generator Lite. You can see new transcode jobs in admin/jobs, but progress will show in BMPG Lite, not Iconik. Blackmagic Proxy Generator Lite will transcode your RAW files and deliver the proxy format to iconik. Both edit proxies and web proxies will be delivered to Iconik, which can be viewed in the “Files” tab.
When you complete this guide, you will have proxies of your RAW content in the cloud where they will be instantly available to share, review and approve, and edit via the Iconik panel for Adobe Premiere Pro and After Effects.
Hopefully, this tutorial has helped you to create proxies for your RAW footage, which will save you both time and storage space. Happy editing!


Steve Ferris is content creator and marketer from Indiana, USA who is based in Stockholm Sweden with his family. Since 2019, he's been with iconik using his 20 years experience in storytelling to share the stories around iconik and media professionals.