.svg)


There's a gap that exists in almost every production workflow: the dead space between the moment a camera stops rolling on set and the moment an editor can actually start cutting. It's filled with hard drives being shipped, files waiting to process, VPN access requests, and days spent waiting on a third-party service to return a transcript. The shoot is done. The edit hasn't started. Nobody knows why it takes this long
When looking for a way to leverage the Iconik feature set to address this problem, many customers close that gap by connecting three things that already exist in their Iconik environment: transcription, the comments panel, and the Premiere Panel. Each one is useful on its own. Connected, they eliminate the handoff bottlenecks that add days to the start of an edit.
How transcription works in Iconik
Before building the workflow, let's look at how transcription functions within the Iconik UI. We designed this feature to be a simple, turnkey experience utilizing our Rev AI integration.
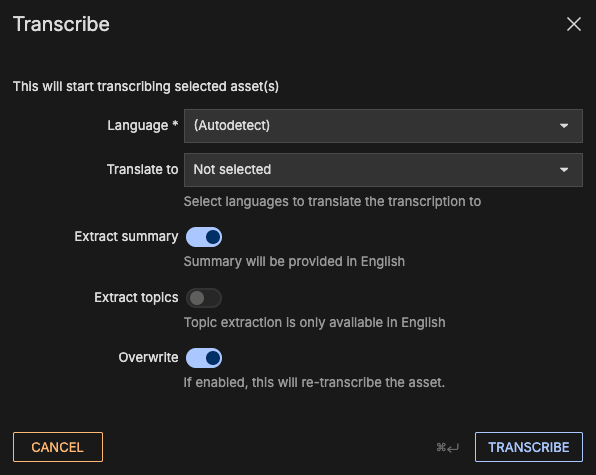
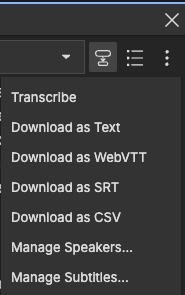
When you select an asset to transcribe via our Rev.Ai integration, you can manually set the language the original asset is spoken in or use the auto-detect feature. If needed, you can also request translations of the transcription into up to ten different languages right off the bat. The workflow can also automatically extract a summary of the subject matter from the transcription, along with the distinct topics discussed, and map them directly to metadata fields in your Iconik environment.
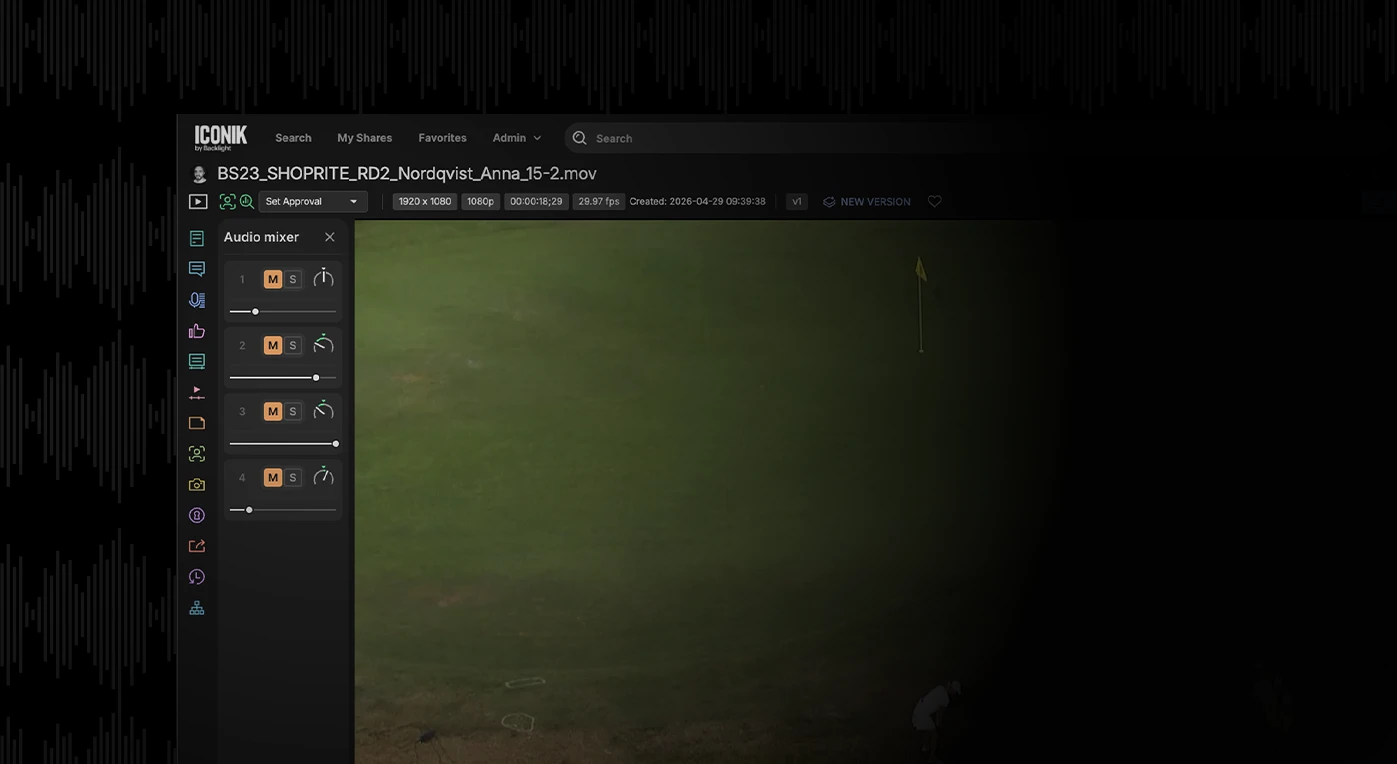
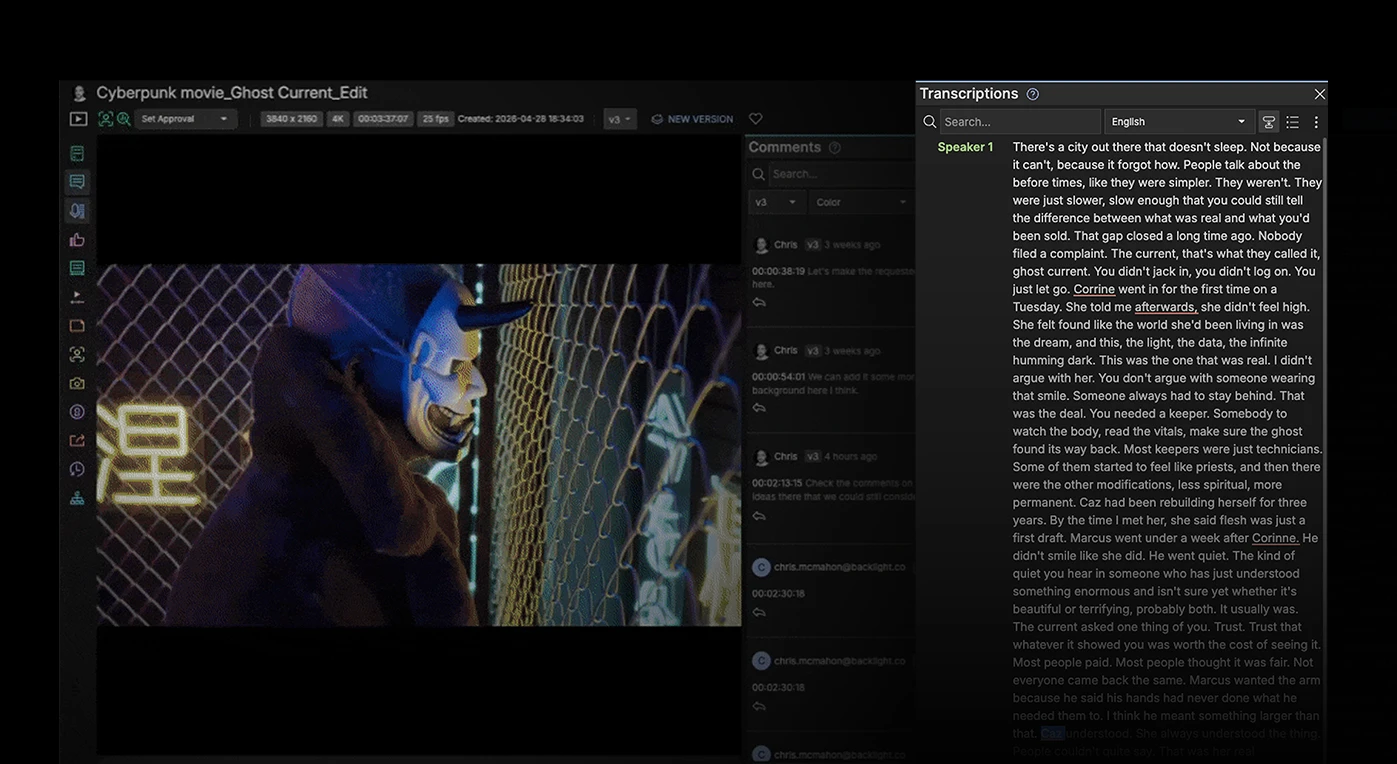
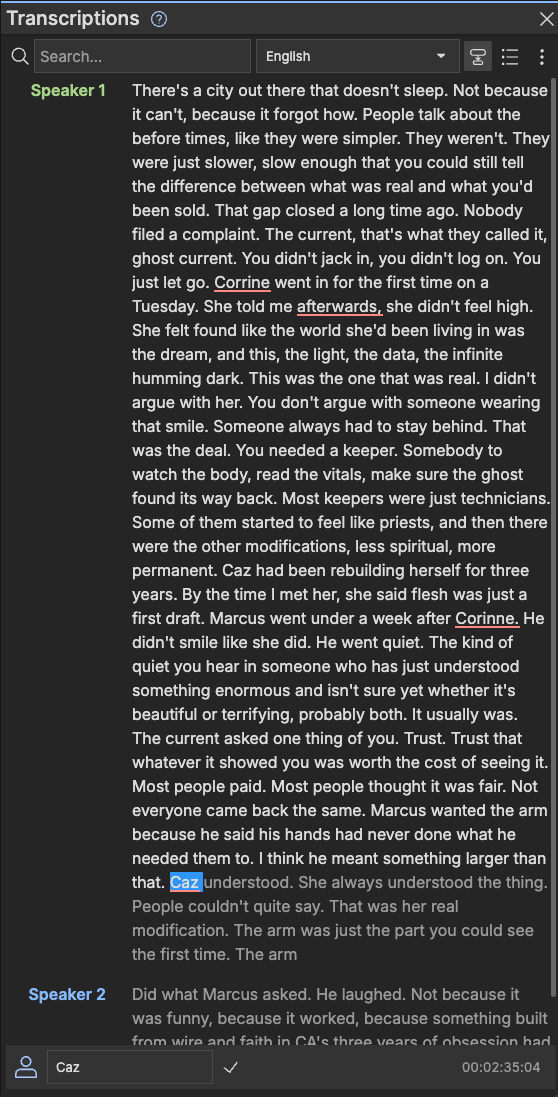
What makes these transcripts powerful is that they are interactive and synchronized with the video asset's timecode. Every single word on the page corresponds directly to a specific timecode on your video clip. As a result, the transcript serves as an interactive navigational tool. As you click through the text, your video playhead instantly jumps to that exact moment in the media. Text selections even map directly to video ranges, so you can you apply time-based metadata or create sub-clips without touching the timeline.
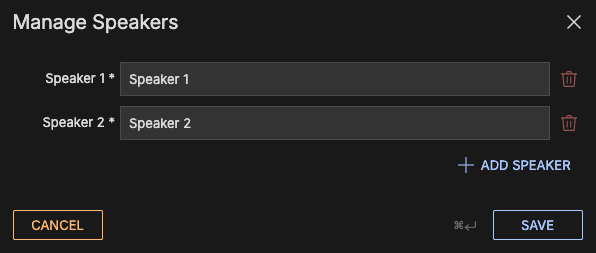
Furthermore, you have full control to manage and correct the text. You can correct misspelled words, split paragraphs, and use diarization to identify and manage speaker names. Once finalized, these transcripts can be downloaded as WebVTT or SRT files for use as captions in other systems, or you can display them side by side with translated subtitles directly in the Iconik Player.
Learn more about transcriptions
The Workflow: Closing the Gap
Understanding the feature is one thing, but connecting it to other tools is where Iconik shines.
Let’s build a workflow example to show how transcriptions can accelerate a real-world production timeline.
Step 1: On set: Instant upload with Iconik Agent
Imagine your crew is shooting an interview on location. Instead of waiting to ship a drive, someone on set uploads the raw assets directly to Iconik using the Iconik Agent. Before the lights even come down, the footage is on its way through Iconik’s automated ingest process
Step 2: Remote producer: Search and select without a VPN or NLE
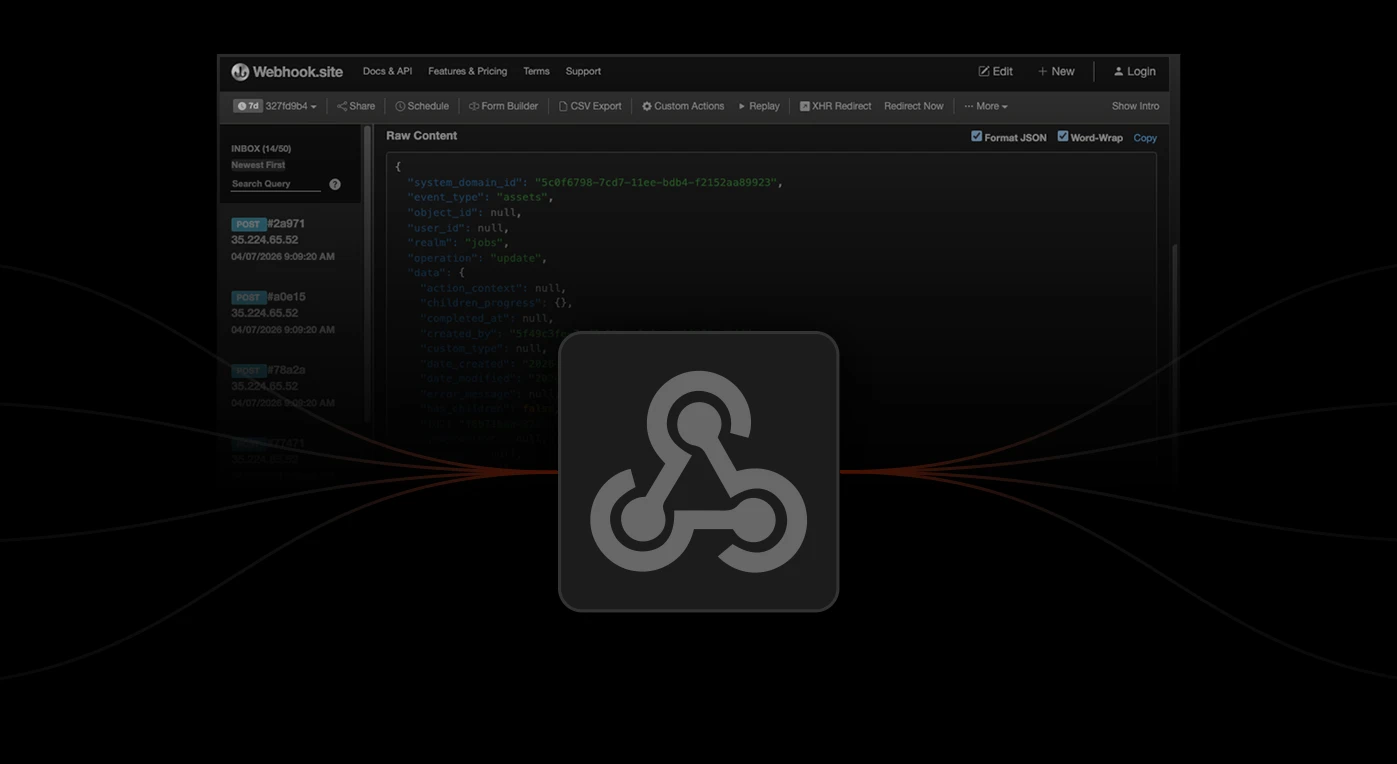
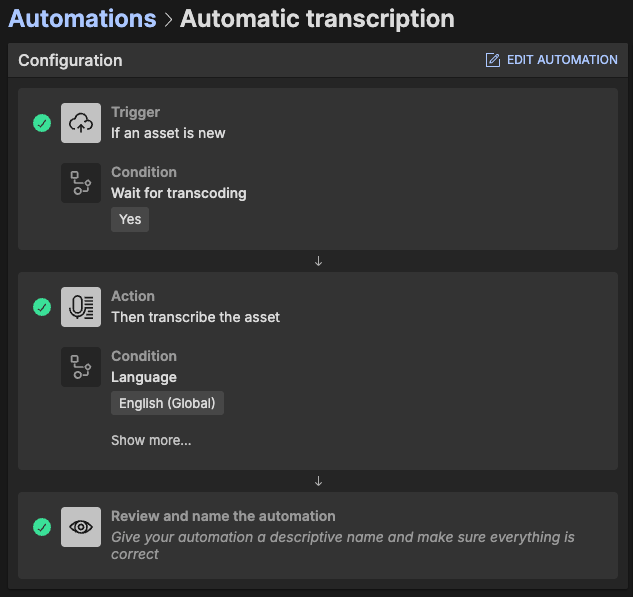
As soon as the proxy is available, the transcript is automatically generated via Automations. Enter our Associate Producer (AP). The AP is sitting on their couch, miles away from the shoot. They don't have VPN access, they don't know where the physical files live, and they don't even have an Adobe Premiere license. All they need is a web browser and an Iconik login.
The AP has been tasked with pulling the best soundbites for a promotional sizzle reel that needs to be posted quickly. Because the transcript is already fully searchable in Iconik, they can instantly locate key discussion points.
Step 3: Remote producer: Turning transcript text into timecoded comments
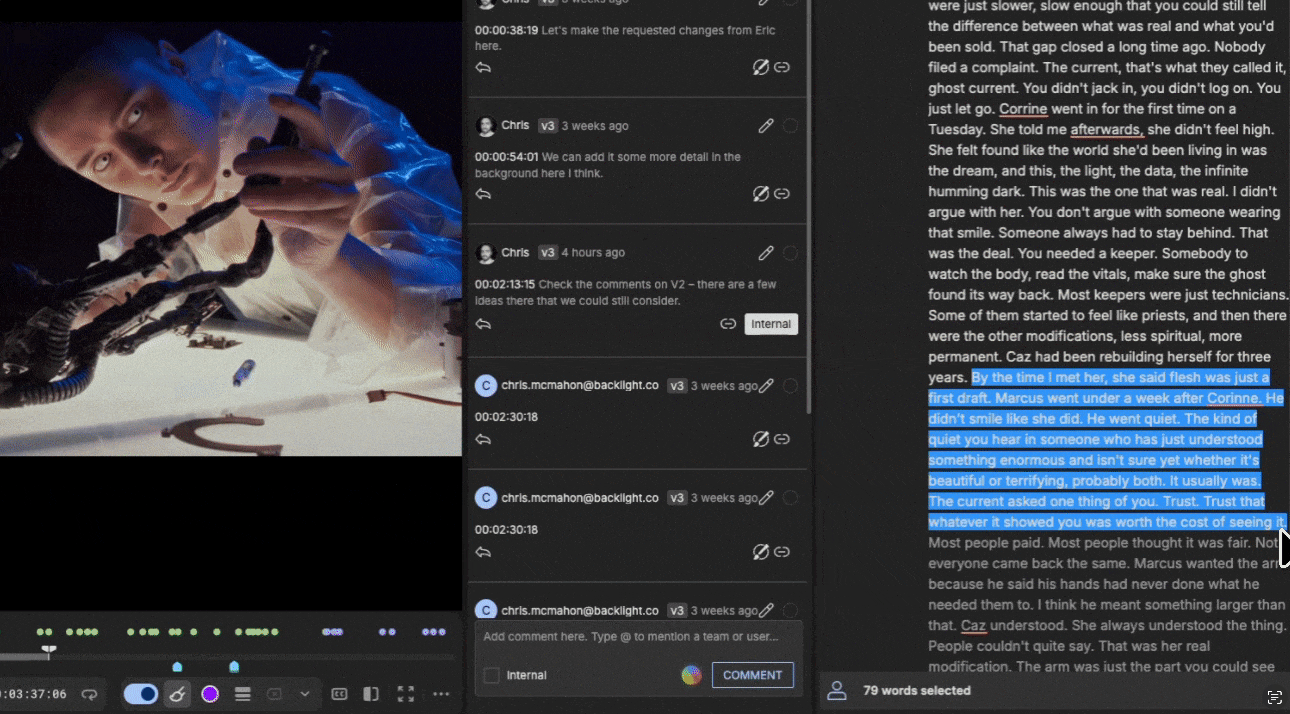
This is where the magic happens. The AP finds the perfect quote in the transcript and simply highlights that section of text. In Iconik, selecting text dynamically creates a time-based segment with exact In and Out points. That means no timecode lookup, no manual logging, no spreadsheet. The text selection is the edit decision.
With the text selected, the AP moves over to the Comments Panel. They hit the "@" key and tag the specific editor (or the entire team) and provide notes for the selection they’re making.The comment automatically inherits the precise timecodes from the highlighted text.
Step 4: Editor: Markers in Premiere, ready to cut
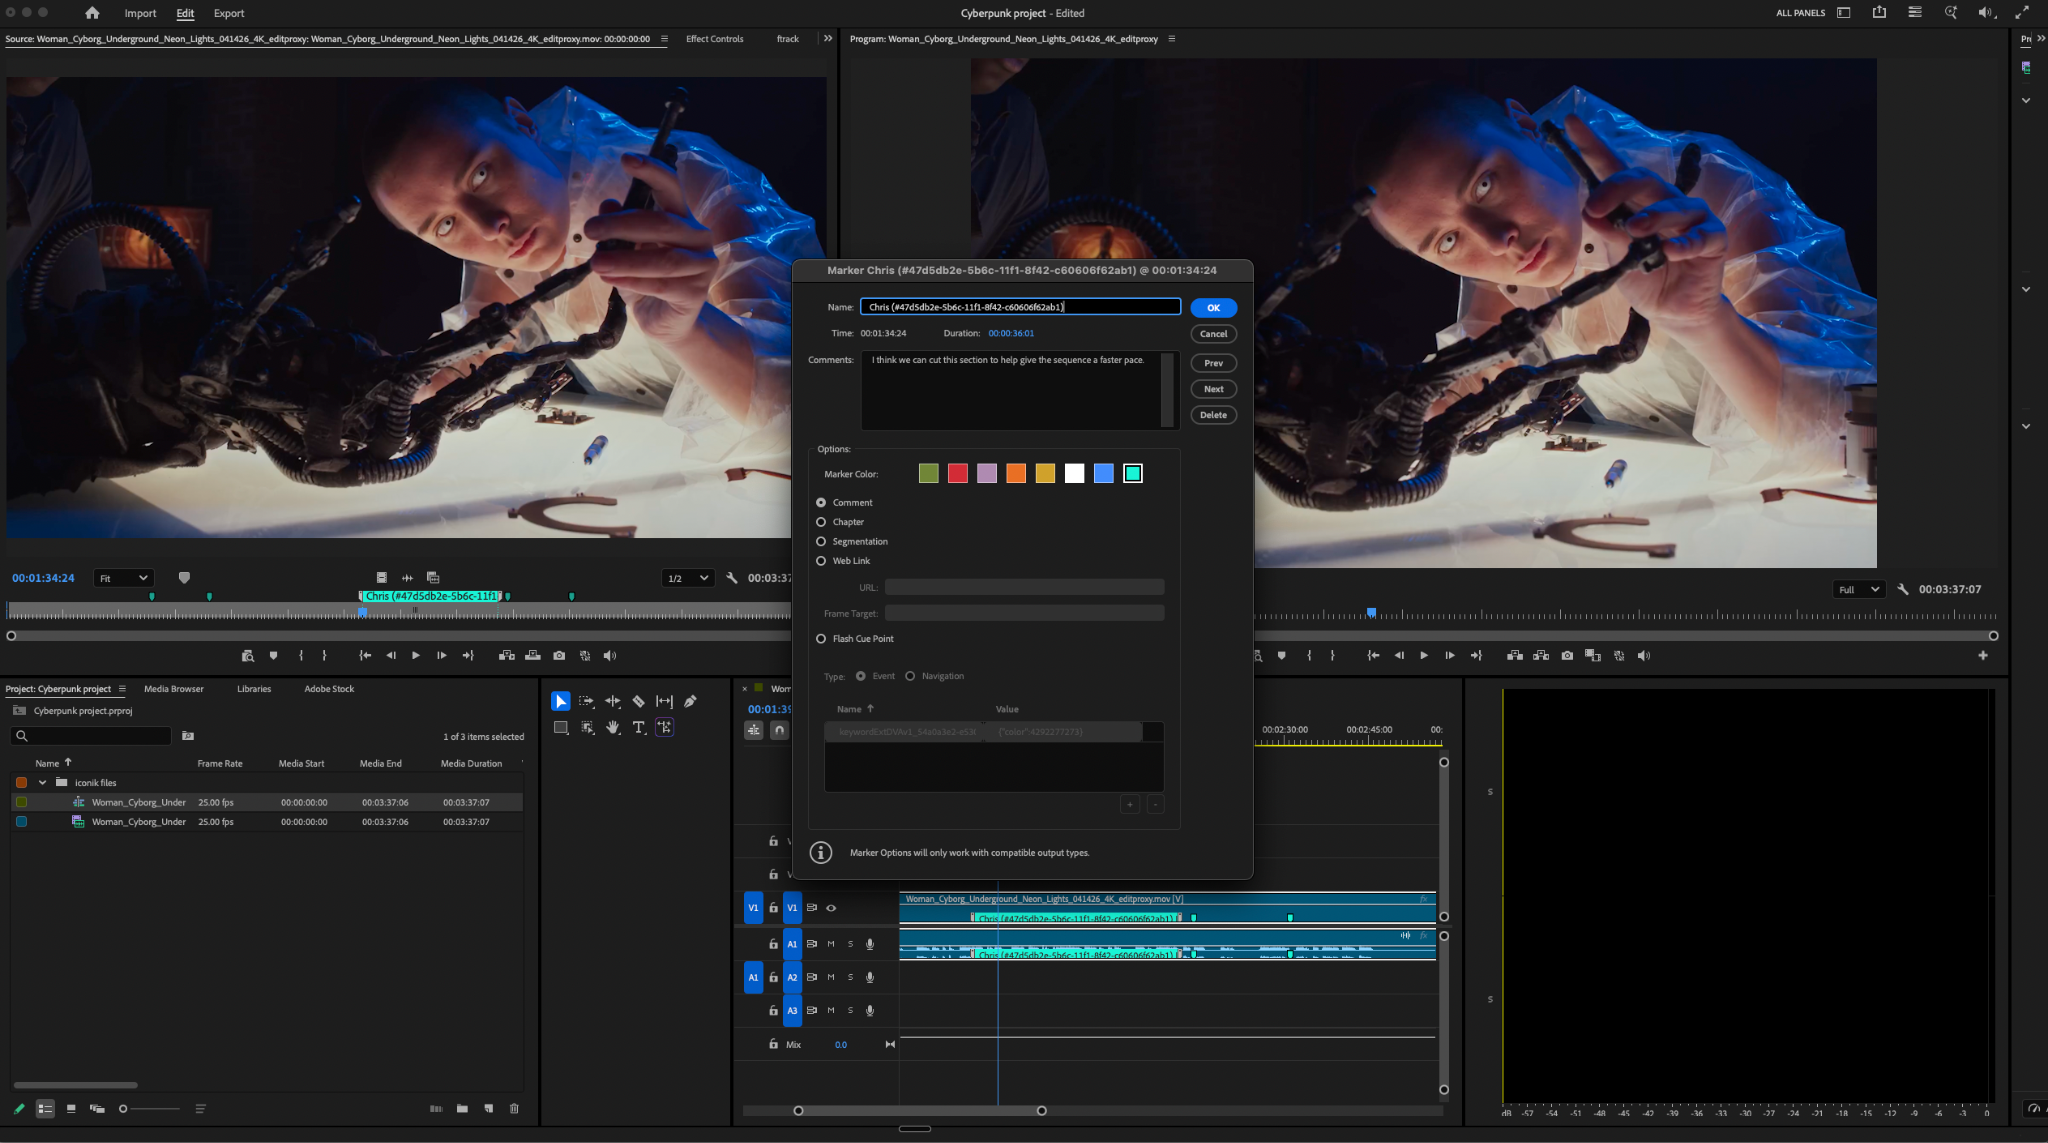
Now, let's look at the Editor. The Editor opens Adobe Premiere Pro and boots up the Iconik Premiere Panel. They import the interview asset into their project. Instantly, the comments made by the AP in the web browser automatically populate in Premiere as markers.
The Editor doesn't have to read an email, check a spreadsheet, or manually scrub through a three-hour interview to find the timecodes. In a traditional workflow, that scrubbing alone could take hours. Here, it's already done. They simply see the markers detailing the exact soundbites the AP selected, put handles around the clips, drop them into their sequence, and start editing immediately.
Learn more about the Iconik Premiere Panel here
Building a workflow
By connecting transcriptions, the comments panel, and the Iconik Premiere Panel, you can rethink how your post workflows get started. You’re likely already creating transcriptions, leaving comments, and editing your videos with feedback from your team. With this approach, you can further focus on the important things that matter in your creative process, rather than chasing down updated transcripts or referencing notes across six different emails.
When considering deployment of these tools into your production workflows, we often advise to adopt a “crawl, walk, run” approach. You don’t have to deploy this massive workflow all at once.
Start by introducing the value of transcriptions to your team. Once they see how easy it is to search for dialogue, layer in the commenting feature. Finally, introduce your editors to the Premiere Panel.
Before long, your users will naturally adopt this connected workflow, and you will see your editorial timelines drastically reduced.
Where to start
- Transcriptions are available today via the Rev.AI integration; no additional configuration required for most environments
- Comments and @ mentions are available on any asset
- The Premiere Panel is a free install from the Adobe Creative Cloud